Showing posts with label craft. Show all posts

Sunday, August 12, 2012

CRAFT WEEKEND!!!!!


    Most of you in Los Angeles are aware that we are having an insane heat wave. Unbearable really. While you all were hitting the beach on friday and today, a couple friends and I were in my stuffy lil apartment crafting! Loralie from Ellenor Postmarked came over and we worked on the office closet doors and the backs of the Ikea shelves... I think you will all be impressed!


    Loralie went to the hardware store and got these particle boards just a little bit smaller than my Ikea shelves. We then rolled it out on to the boards and measured them with a little allowance on the sides to fold over. We then sprayed the boards with Super 77, a aerosol spray adhesive to attach the fabric. 


    The corners were folded over and then glued down with tacky glue. Which apparently I suck at. About this time my other friend Rose showed up to help and in the time I glued down one they cut and super 77ed the other two boards. I swear that glue requires hulk skills.


 While the glue was drying, we moved over to the larger task at hand... the office doors. 


    Now, In my mind, this was definitely going to be the easier part of the day. I was sadly mistaken. We  had planned to just roughly cut fabric close to the size of the squares, spray adhere them, and then exacto knife the edges to make the lines clean. So easy right? 


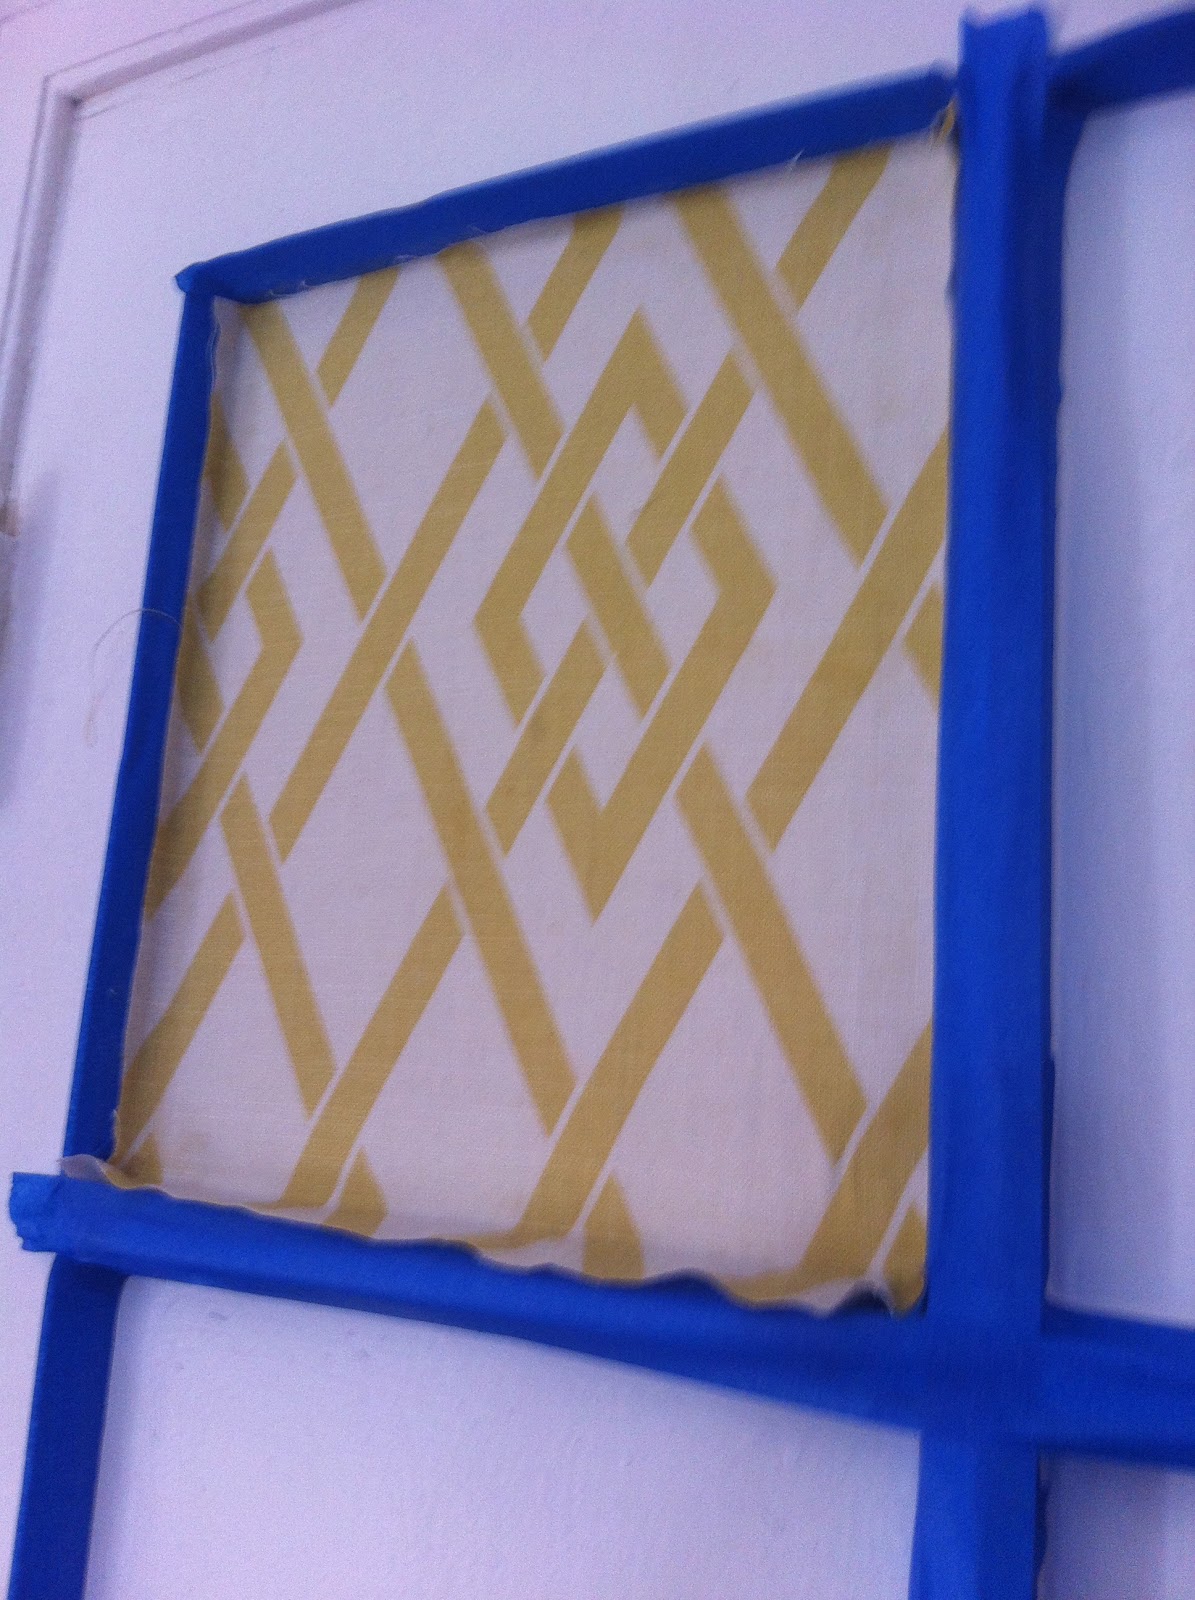
  We paper taped the borders and got all ready to go! I did two squares and as you can see, this photo is Rose, just about to do the first cut. This is when things went a little haywire. I didnt even think about the fact that we were using a really awesome fabric that had some of the properties of linen. The most important one being that it is many many tiny threads that can pull and snag very easily. Which is exactly what happened. It pulled off the corner, it frayed....


    This photo is about three minutes after I TORE the fabric square off the wall, threw it on the ground, stomped off the step stool and said angrily: "I'M HAVING A BEER!!!!" Such a patient girl, as always.


    Luckily for me, I was with two VERY patient and level headed girls that quickly put another plan into action.


    The plan was that we were just going to have to measure and cut each one very precisely and individually. Which meant both of my girls were going to give up a full afternoon (turned out working noon till 530, and then another two hours for Loralie and I on Sunday) to help. Awesome friends I have, awesome.


    As you can see here, soon it was assembly line central! Rose and I drilling the fabric covered boards to the back of the shelves, and Loralie cutting perfectly perfect sized fabric squares!


    It was so hot I talked Rose into having a beer with me...seriously bad ass with her beer and the drill. Art Department girls rock. 


    In the end, both projects turned out so amazingly stellar! I couldn't be happier with them. The Ikea shelves are now considerably more stable and insanly more chic. They even cover the cables so no more unsightly little wires peeking through! 


    I really really adore the office doors. I think it gives the illusion of having so much more depth. The girls were so exact with matching the patterns; if you look closely almost all of the lines match up! 


    I cant say enough how much of a fun process this has been. The living room is just about finished! Heres Loralie holding up the new light fixture that is going to be installed soon!


   These are the planned fabrics for the throw pillows! They are great tie-ins to all the other colors and patterns going on in the room! 


   Last, but certainly not least, I wanted to include a picture of my beautiful curtains made by my lovely and talented friend Laura Flett. If you remember, the original curtains were full panels of the chartreuse peacock feathers on the bottom. Loralie brought this great design to me about how to break up the pattern to keep if from being overwhelming. Laura Flett put the whole plan into action; and here they are: lovely, luxurious, elegant but very me drapes.


I love my apartment.

xo


Monday, August 6, 2012

DIY Vitamin C Cream!


     Ah August! I just love summer. LOVE. There is nothing better than a day in the grass with my pup and sunshine on my face...or is there?

    I recently went to my facialist Paula Mauter from Skin Studio LA who, by the way, is a total genius. She looked at my forehead and confirmed what I was dreading: SUN SPOTS! There is just a little bit of a darker patch forming from all those glorious days of sun worship!  DAMN IT!

    We talked about all the different procedures that can be done like bleaching,and retina, but since I am super against heavy chemicals she recommended a homemade remedy from her blog from just a few months ago!

    Heres the SUPER easy recipe:

Try 1/8 of a teaspoon to 2 oz of cream.
THATS IT! She says you can start there and add if you like.  It is normal for Vitamin C to sting a little, so don’t be alarmed. You have to use it within 2 weeks or earlier if it starts turning yellow. And by yellow, I mean oxidizing. So seriously, pay attention!!! She recommends dark amber bottles, but I just made it in the lotion jar to start with to see if I like it. 

I started with Boots Moisture Quench Night Cream  from Target.

I used Twin Lab Super C Vitamin C Concentrait. Be sure you read the back of the vitamin C powders well, as many contain a ton of other ingredients. Also, remember powder, not crystals.

I actually did 1/8 Teaspoon to 1.6 FL oz. I know, I know, its more than the recipe ...
    I have been using the cream for about a week, and so far I really like it. I'll have to wait and see if I think its healing the little brown patch. Moisture wise, I really like the thick consistency, and with the little sting from the vitamin C, it feels like its doing something.

xo

Sunday, April 29, 2012

New Sofa!

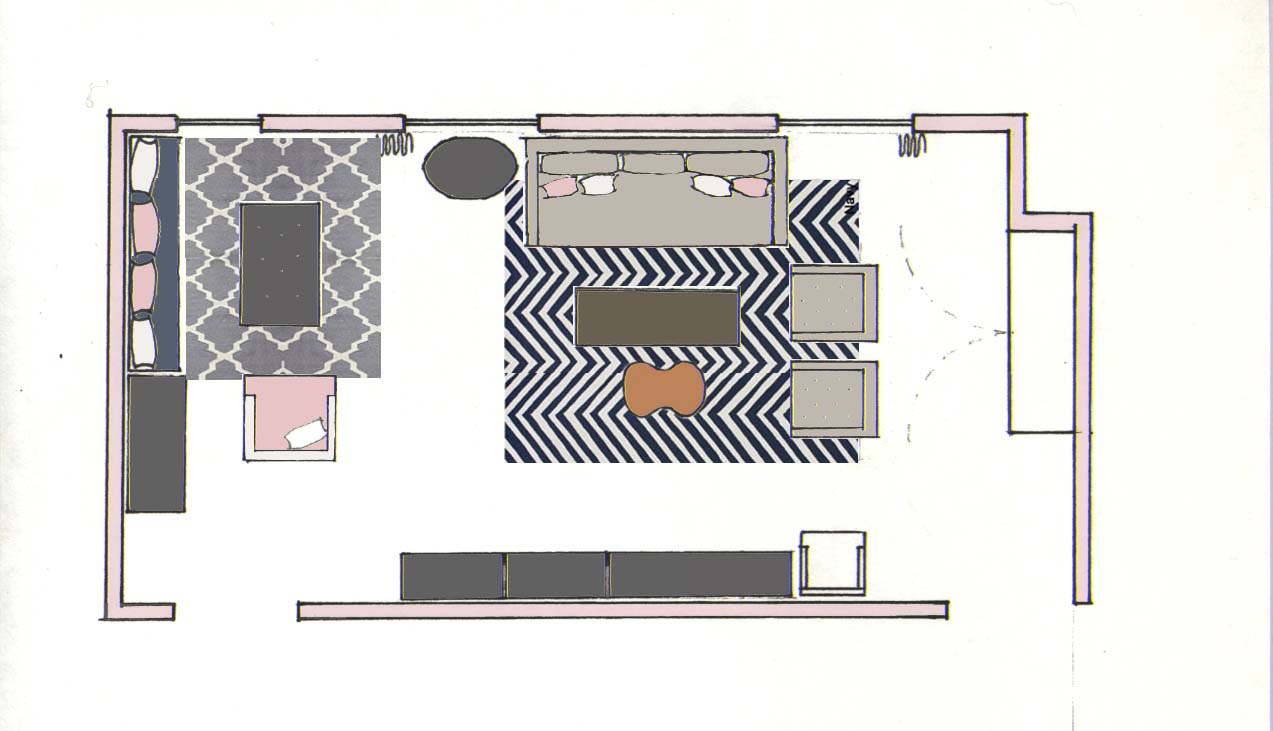
    Heres the latest edition to the great living room re-deux! Loralie sent me up a full color mock up of my room! Isn't it great? She used the Pantone Template we made a few weeks ago, and look how beautiful it is!!! Thats my living room!!


    So Loralie and I went in search of the perfect sofa. After going a few places, I fell in love with the Ikea Karlstad. I know, I know. Its Ikea. Honestly, it was my favorite of all the sofas we saw. The legs were a strange blond wood color that we both felt made it look cheap... but was easily remedied with a little spray paint! Ikea had same day delivery for only $59!! Sadly, they charged and sent me for the love seat and not for the sofa I wanted....enter Ikea's AMAZING customer service. They were so great and the next saturday they showed up at my house with the sofa, picked up the love seat, and didn't charge me for the difference because it was their error. WHAT?!! So lovely.


    It did come in A LOT of pieces in true Ikea style, and I now have a new respect for velcro. Thank god my friend Rose came and helped me assemble that bad boy. I have to say... I love it. I really do. Its incredibly comfortable, and in my opinon a steal for the price and value. And look how great it looks!!


    I am super excited for the curtains, pillows, and new light fixture (!!!!) we ordered!!!!  More to come, promise!

xo

Sunday, January 15, 2012

Konad Nail Stamping

    Last year when I was sick, my cousins friend came over and did my nails for me. She is a nail wiz! All the colors I could have ever wanted and these weird stamp plates from Konad.  They make hundreds of little metal plates with all sorts of patterns on them.  You use a stamp and a scraper and it transfers onto your nail! It was so cute that I thought I would buy one. I bought the basic scraper and stamp and one plate in a kit on ebay for SUPER cheap. And then as life happens...9 months went by and it was still in the package. Tonight I walked by and thought...ooooh yeaaaah!


 I started with my basic kit and then just some polish that I had on hand.


The taupe is OPI "You don't know Jauques" and the pale pink is Essie "Not just a pretty face."


First I started out with two coats of the pink. When it was dry, I did a thin layer of the taupe over the pattern I wanted. 


Then you use the scraper and slide it along the plate to take off the excess.


The next step is to transfer the paint to the stamp. You do it in a rolling motion over the plate. The same rolling motion is used to transfer the pattern from the stamp onto your nail.


I finished up with a coat of clear top coat, and Zing! Pink and Taupe Leopard Nails!

    I have to say this is incredibly easier than I had expected. There is  bit of residue on the cuticles, but mine came right off in the shower. I would recommend  doing the scrapping step with a paper towel underneath to have something to take the excess off on. Also its good to wipe the stamp with nail polish remover after a few stamps so you don't build up extra paint. If you miss a spot, just do a little piece on your stamp and fill it in! I love it! If only they made this for Gel manicures!

xo

Thursday, October 6, 2011

Saturday, June 11, 2011

Early Party Project

I am having a lil party in a few weeks for my birthday. It started as just a house party. Now it kinda has a gold and dusty rose theme. I love party planning! I love crafts! A few days ago I found a printable template for drink flags on the Etsy by Yellow Heart Art and just fell in love. Add some pink paper straws and Shazam!


think they turned out so cute!!! I am going to make some shorter ones to stick in desserts as well. 

Xo
- posted from montanagirlie's itelephono